The Process and Steps
The process involves several steps, including creating the stencil, preparing the screen, applying the ink, and printing on the apparel. Following are the steps explaining the process.
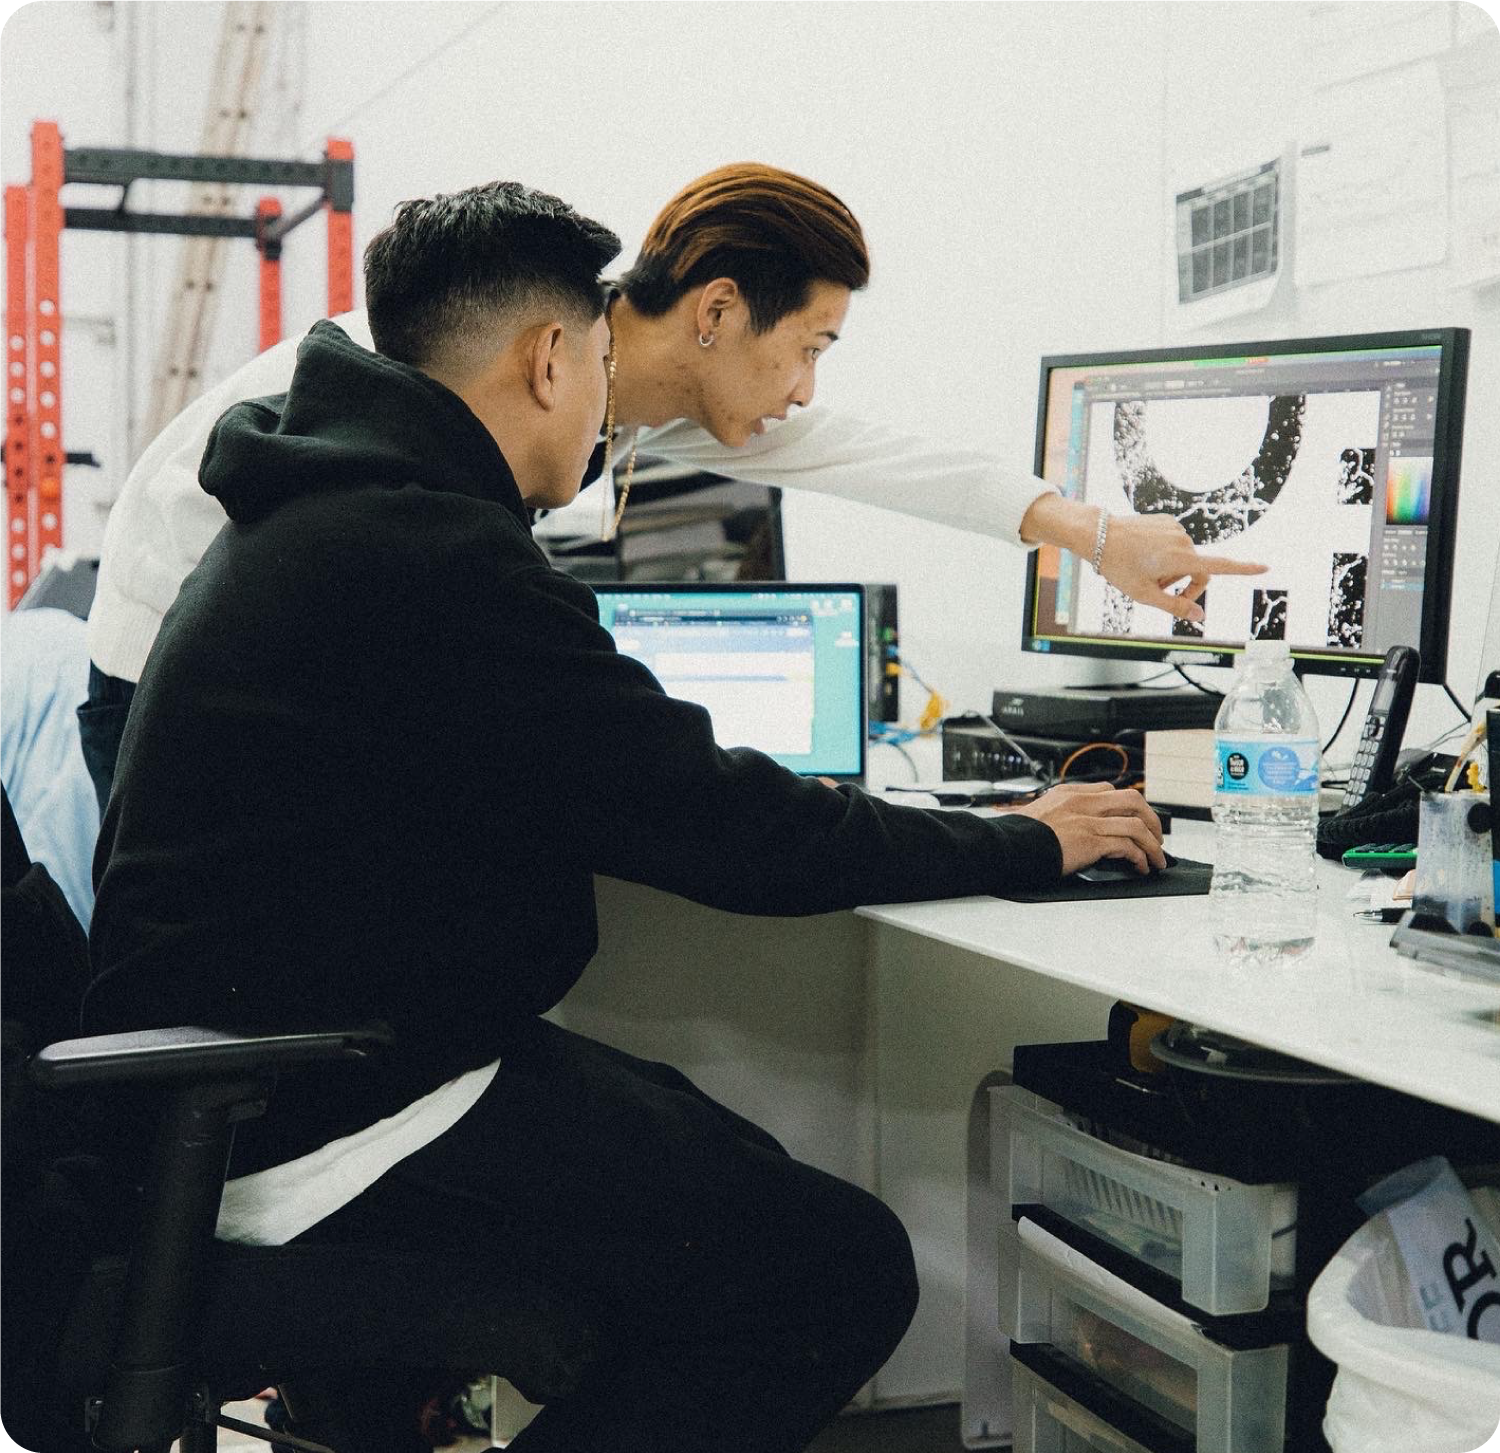
Preparing the design
It's time to prepare the artwork for manufacturing. Your design needs to be vectored before it can be screen printed. Then, a distinct layer is made for each color.
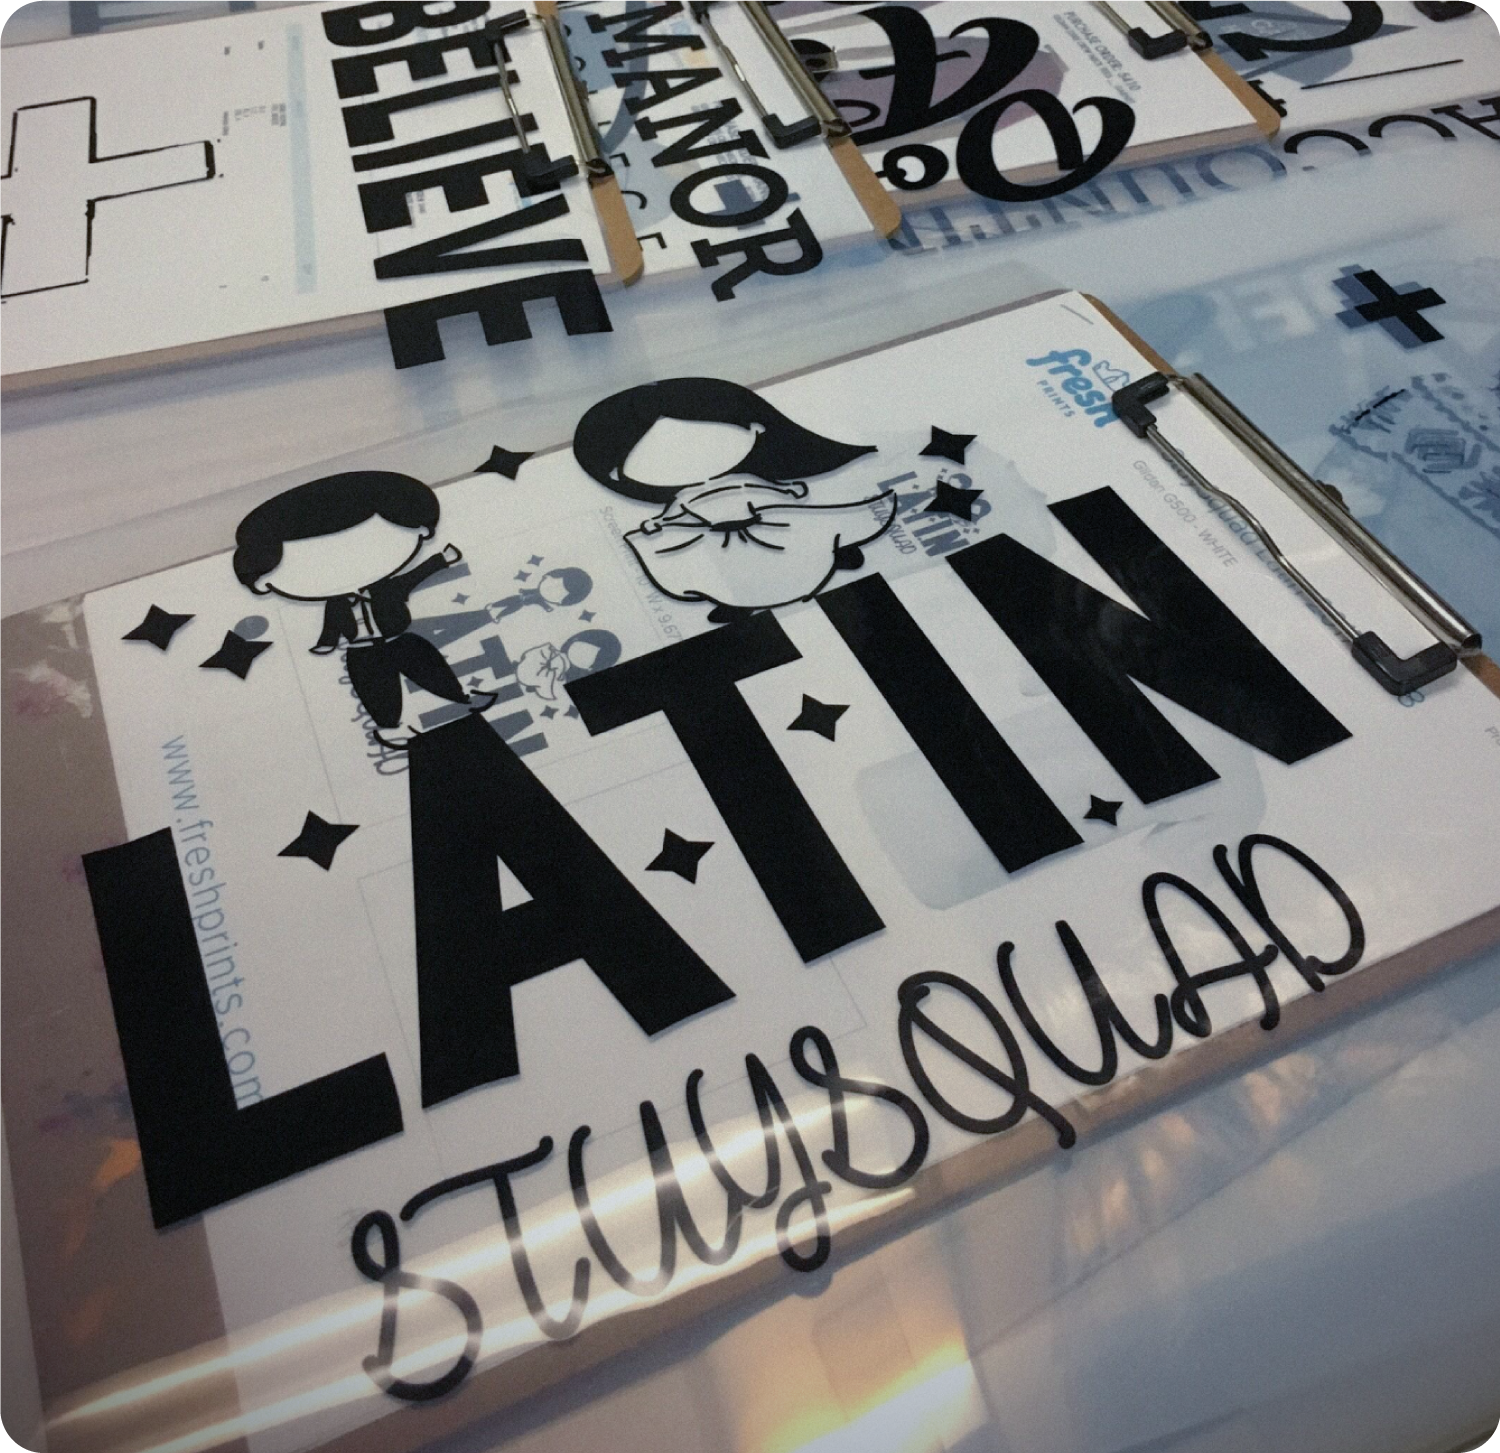
Creating film positives
Sending distinct layers to a film printer ultimately results in a positive film. Once films are printed, they are burned onto a screen coated with a light-sensitive emulsion. After each screen is washed out, the negative image remains open in the mesh.
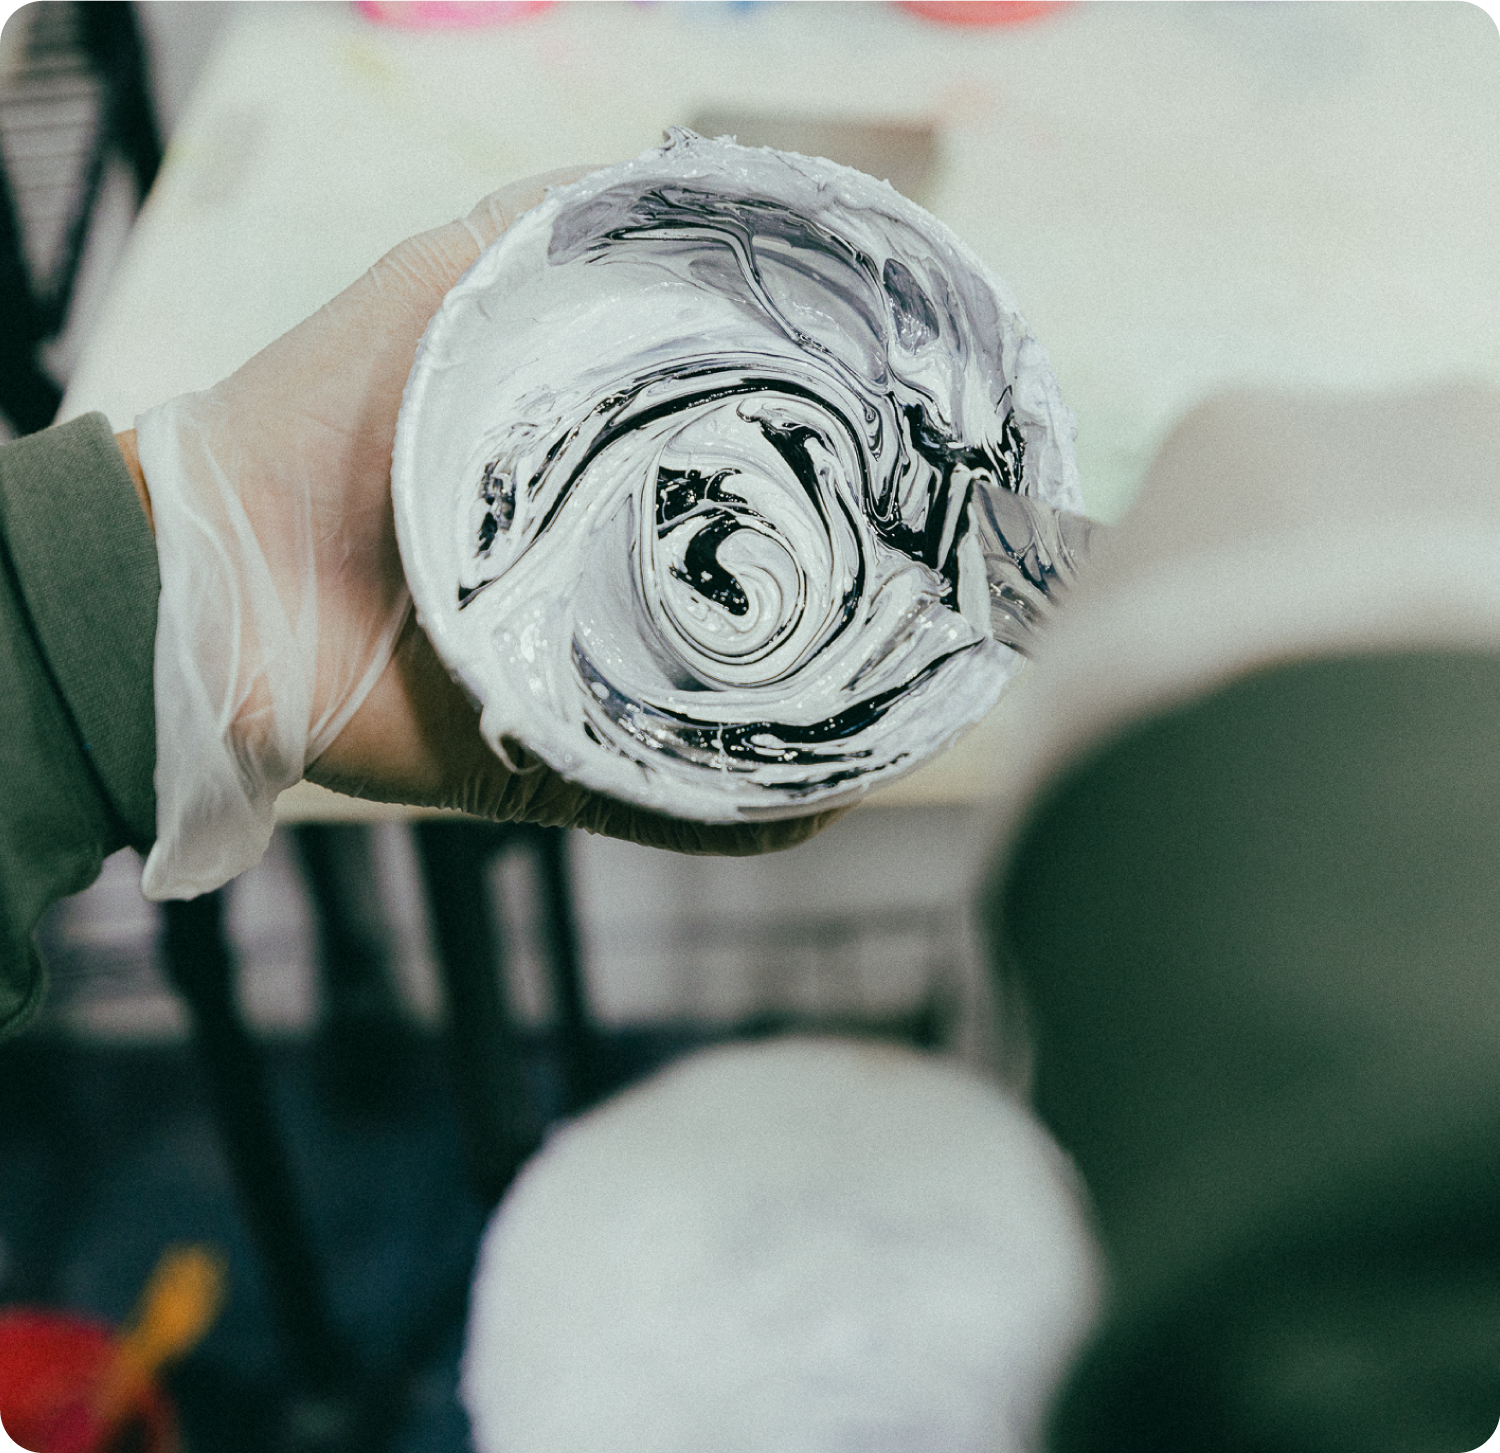
Placement of inks
Standard inks are scooped out of their buckets, and custom inks are combined in separate containers. Careful placement of these inks in their designated screens.
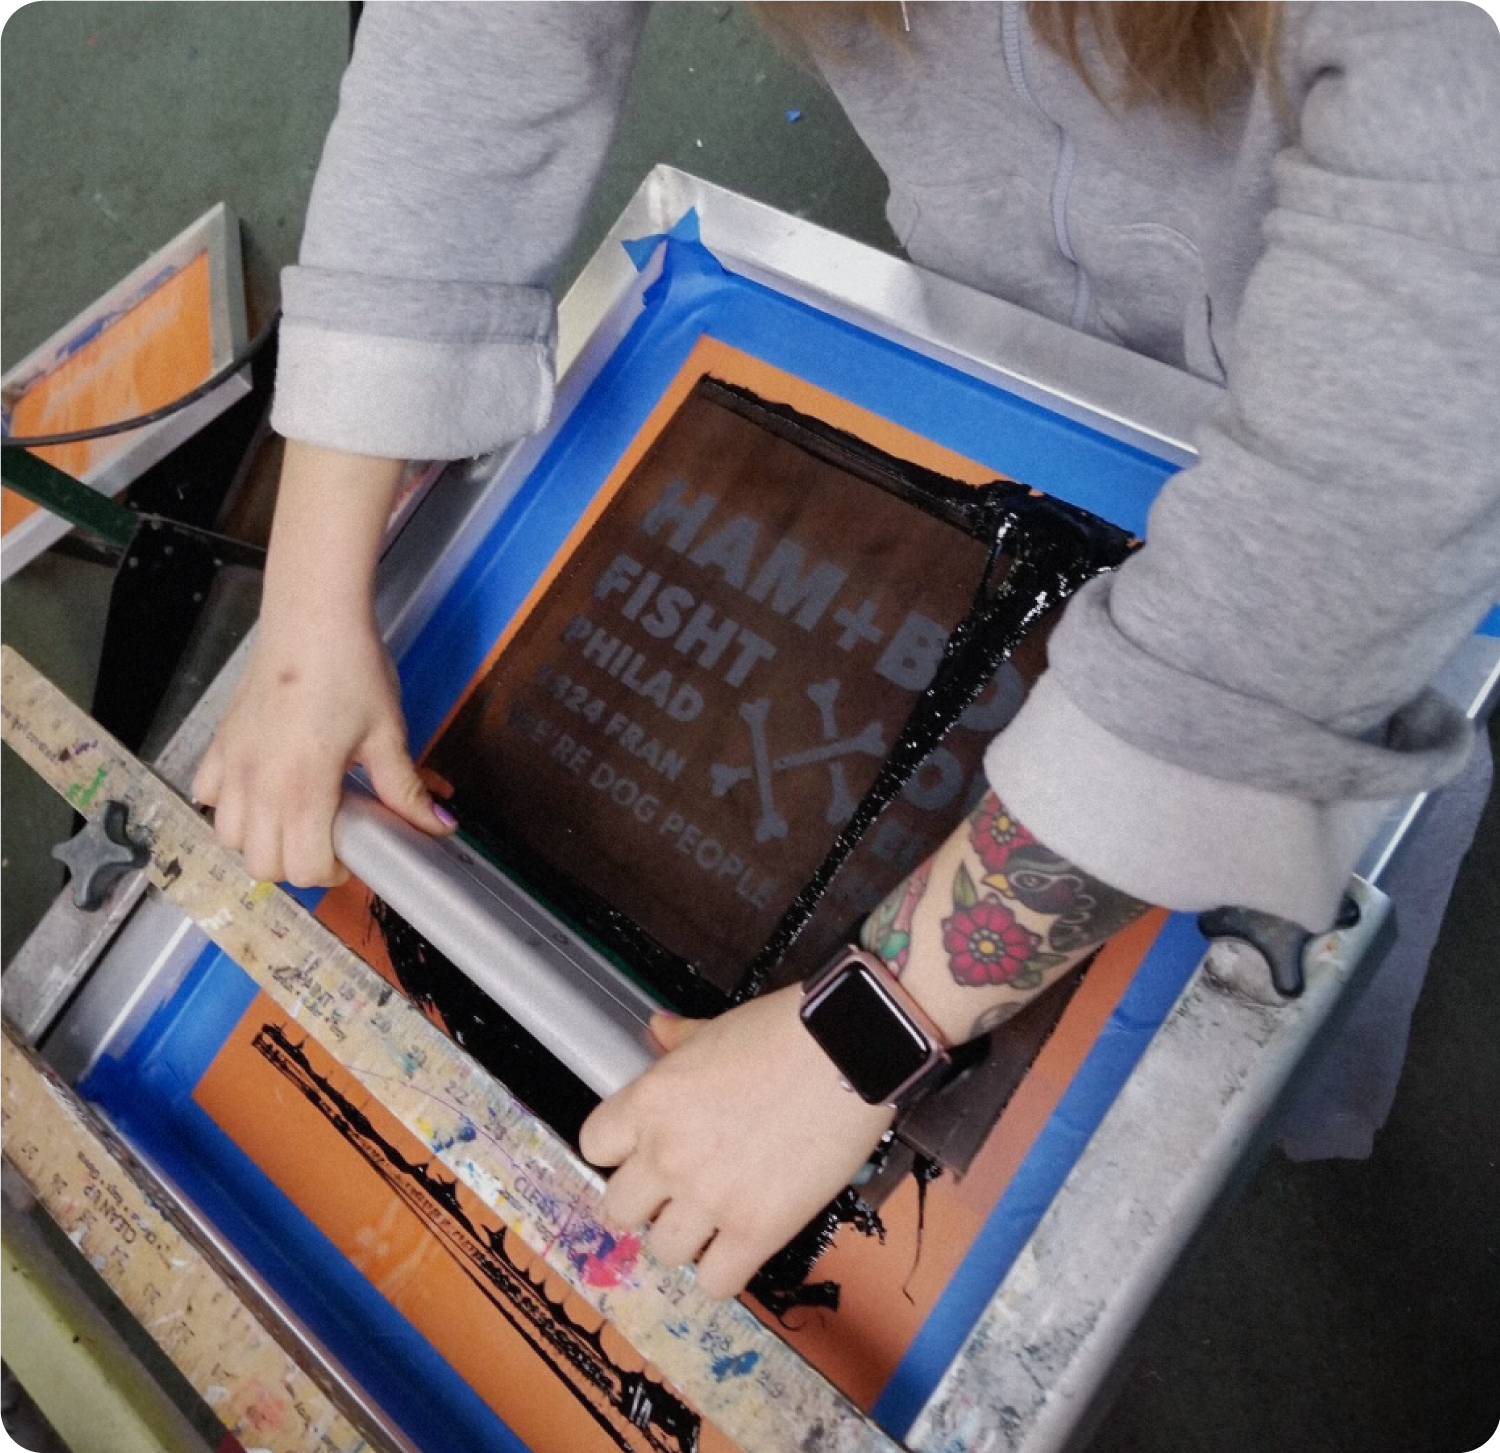
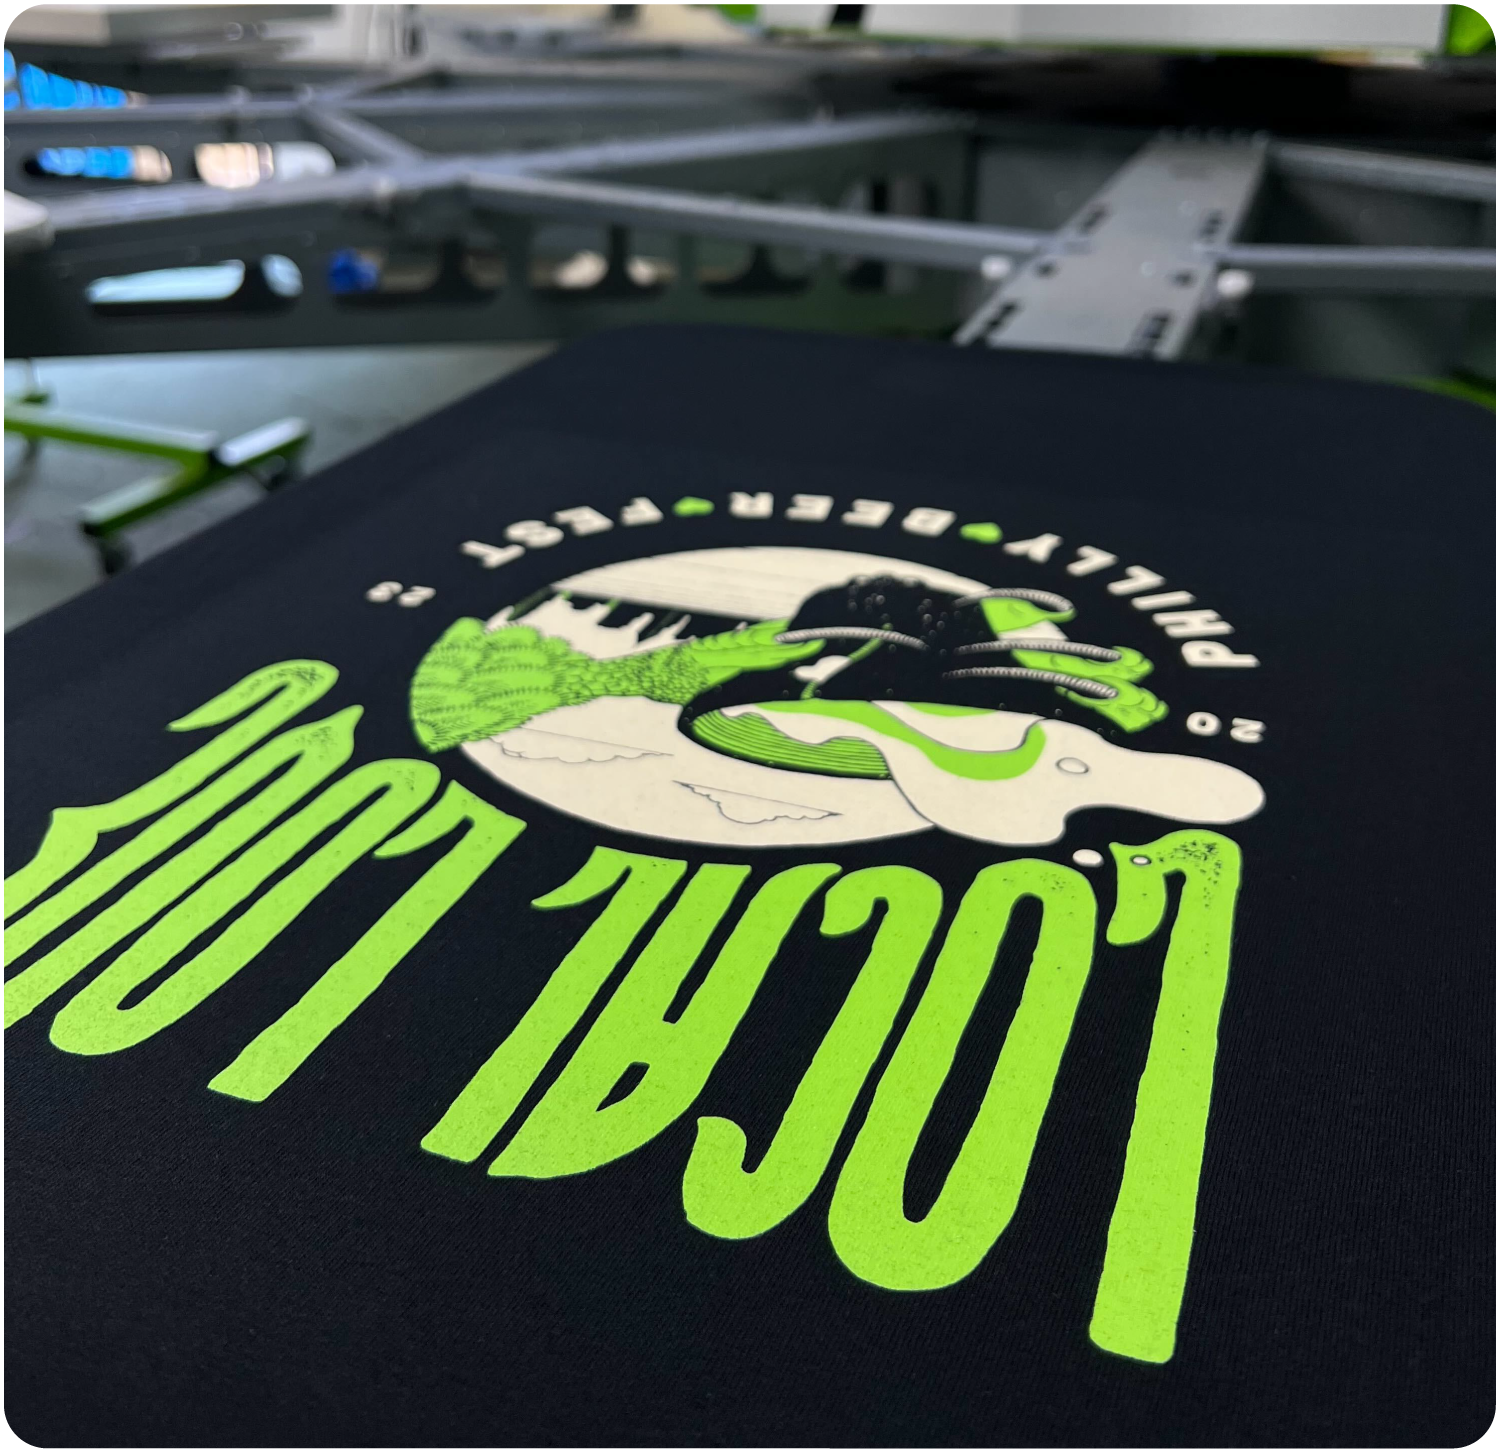
Printing & Curing
A squeegee forces ink through a screen's fine mesh once loaded, registered, and pressed with the appropriate ink. After the ink has been pressed onto the fabric, the fabric is dried in a conveyor dryer to set the ink permanently.
Expert Review
After coming out of the dryer, the garments undergo a final round of quality checks before being refolded, bundled, and repackaged according to their respective sizes by our screen printing experts.